
ReproScripts Imposition Spread through pages plugin for CorelDraw
- quick arrangement of jobs by pages
- automatic detection of borders of jobs
- flexible control over plugin operation
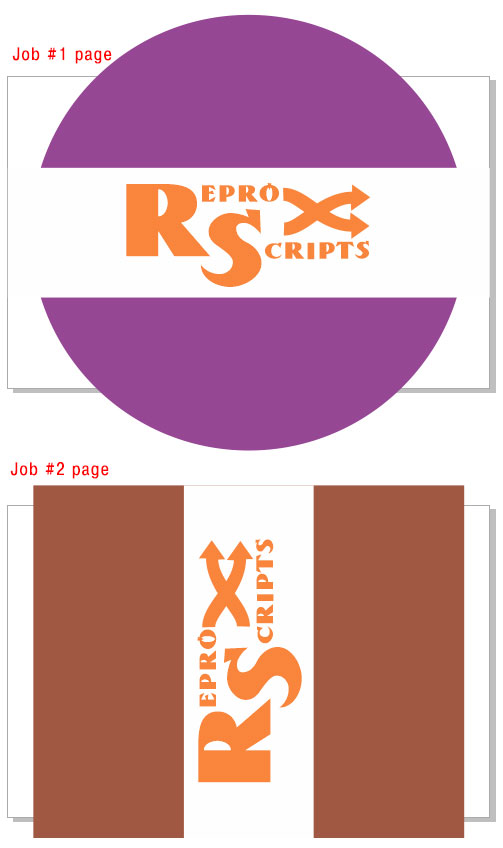
To create an imposition of a job before sending it to print using the standard CorelDraw tools, it is necessary that the job is placed in a separate page which size is equal to the trim size of the final product. However, often files that come to the prepress specialist are not made that way. Many designers find it more convenient and graphical to have several jobs positioned side by side on one page. They simply draw a rectangle symbolizing the border of the future product and create something beautiful inside.
The subsequent adjustment of the CorelDraw file by spreading jobs on separate pages is not technically difficult, but it can take a certain time, of course, multiplied by the number of jobs performed.
The Spread through pages plugin from the ReproScripts Imposition library allows to automate this routine operation.
List of jobs to spread
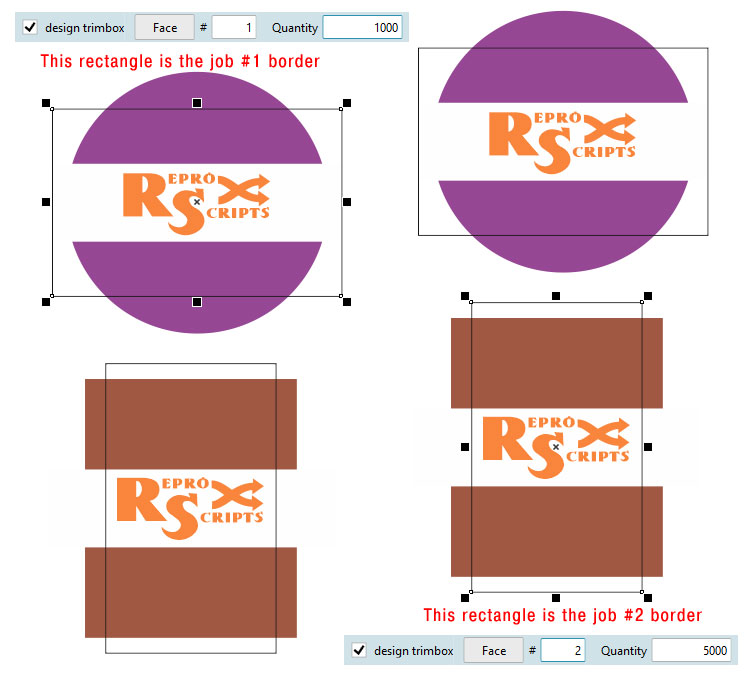
The plugin requires an open document in which to search for jobs that need to be imposed. When you run the plugin, it scans the document and fills the list of jobs. The plugin looks for a rectangles in the document which designate the jobs borders. A border is a rectangle at an arbitrary location in the document that restricts the design. The rectangle itself will not be present in the imposition, only all objects that are completely or partially within its boundaries will be taked.
The plugin searches for boundaries by a list of standard pre-defined sizes or objects that are explicitly marked for this function. In the header of the list, you can choose which borders - by size or marked by the designer - to be included in it.
Working with the jobs list
All the jobs in the list participate in the layout — each will be imposed on a separate sheet. Clicking on the button , you can find the border object in the document.
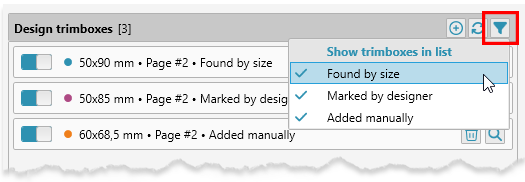
Depending on how the border was added to the list, it will be marked with a colored dot — blue for job borders found by size, purple for borders marked by the designer, and ortange for manually added.
If the border is defined incorrectly or there is simply no need to lay out this work, then you can click on the icon with a colored dot, which indicates the active state of the line. The color of the point will change to gray , and the item will become inactive and will not be taken into account in the layout.
You can limit the type of objects displayed in the list — to do this, click the filter button and mark the options that you want to see.
To rescan the document, you can click the button in the list header. For example, if the plugin could not determine the required border by size, then, when without closing the plugin window, you can mark it in the document and rescan.
Search of jobs by size
If the menu item found by size is ticked off, then the jobs that are bounded by a rectangle of a standard, pre-defined size go into the list.
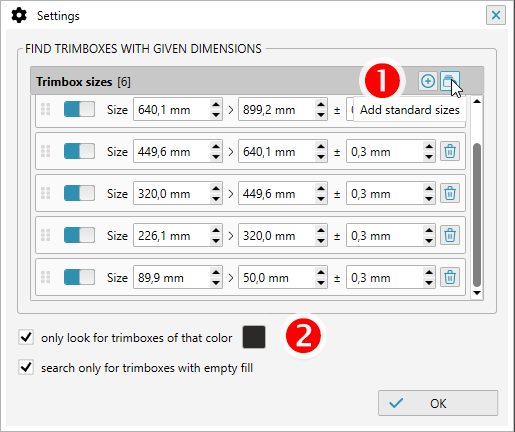
The sizes by which the search is made are specified in the plugin settings 1, which can be opened by clicking on the button with the gear in the lower right corner of the form.
Clicking the button can add the size and its allowance, which the plugin will take into account as suitable when searching for borders. In addition, in the settings, you can specify that only rectangles with a outline of black color ( search only for black borders) and/or only with empty fill ( search only for borders with empty fill) are taken into account 2. This will help avoid erroneous inclusion of unsuitable objects in the list of boundaries.
Search for jobs borders marked by the designer

During the installation of the ReproScripts Imposition library an additional control is added into the CorelDraw interface. It allows to mark a rectangular shape as a trim border for the design within. The control ties additional information with the border shape which can be picked up by the Spread through pages plugin. All object within the border bounds will be considered a separate job and be added to the list and processed. Any rectangle on any page can be marked as a design border and the plugin will add it to the layout list when scanning, if the menu item marked by the designer is checked in the header.
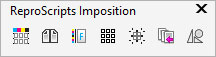
The control for marking borders is built into the standard toolbar of CorelDraw. Therefore, to use it, the standard panel must be enabled in the interface and be positioned horizontally. The element has an orange background, allowing you to quickly understand which object can be marked as a border.
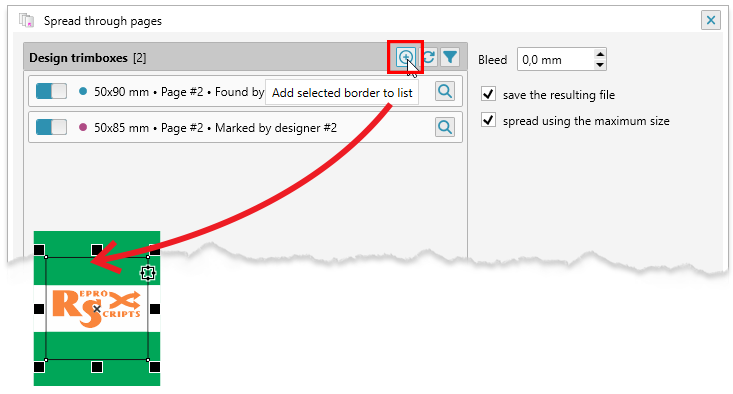
Adding the selected object to the list manually
The easiest and fastest way to add an object to the pickup list is to manually add it. Just select the desired object in the document and click the button.
Spreading through pages
For proper distribution on the pages, all jobs must be the same size. If the sizes in the list differ, you can specify the plugin to calculate the maximum page size for all of them by selecting spread using maximum size checkbox. In this case, the plugin takes into account the current orientation of each work and rotates them if necessary.
If there are no errors, the button becomes active. The plugin forms a new document and arranges all the jobs on separate pages. The rectangles which serves as borders will be made transparent.